|
|
|
|
News The Project Technology RoboSpatium Contribute Subject index Download Responses Games Gadgets Contact <<< Imprint ...to be continued. >>> 3D printer Zonestar QA - UpgradesThe video about the Zonestar QA 3D printerGet the printer at Gearbest.com Special offer with Coupon Code: PD9J21EJBF Have a look at the column Shopping Tips to get more special offers. The printer ships with no filament spool, thus don't forget to order filament. About the device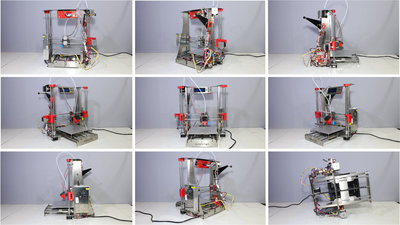
From the Zonestar P802 series I have reviewed the P802M8R2 as well as the P802QR2 before. The model shown here is the most simple version having a single extruder. I am a big fan of 3D printer kits because you get a deeper understanding of the working principle of those devices during the assembly and repairings or upgrades are more easy to do on those machines as well. UpgradesYou can get all upgrades I have implemented in a Download package.You can also download pictures of the assembly (36.4MB) of my printer. Here I'd like to show the upgrades I have implemented on my machine: 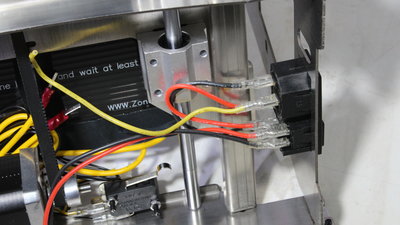
The barely insulated terminals of the mains voltage are very close to metal parts and the mains cables are close to moving parts of the mechanics. 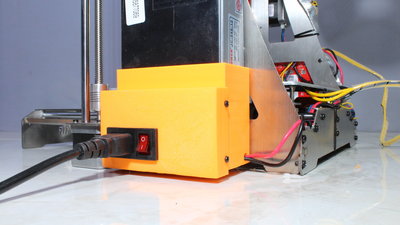
I have printed a cover for the mower supply. With that, the switchable socket of the kit can be used without fearing to feel the sparkle of mains voltage on your finger tips. 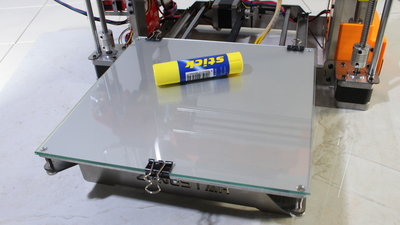
To get better bed adhesion I am using a glass plate on top of the print bed. The tile was cut from the glass of an old scanner. Three metal clamps keep the glass tile in place. I am using a glue stick to get better adhesion of prints on the surface. 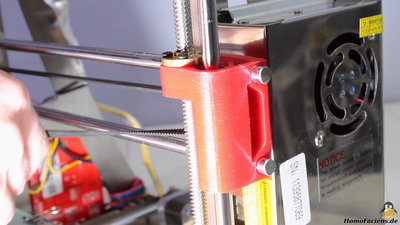
The round bars of the X axis are locked in place only by friction which doesn't work fine in the original configuration as soon as you start tightening the belt. 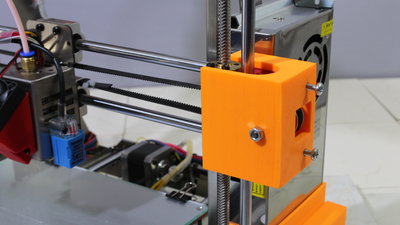
The 4mm screws of the newly created belt tensioner rest on the round bars of the X axis so that the linkage no longer moves when tightening the belt, which is done by simply turning the screws. 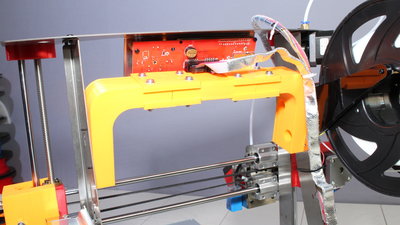
With the enforcement installed, the frame still isn't perfectly sturdy, but bends far less than before. Mainboard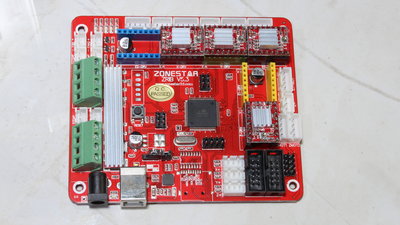
The advantage of the Zonestar P802 printer series is that all of them come with identic motherboards so that you can implement all upgrades even on this entry level model. The mainboard can control up to 6 stepper motors, 3 hotends and read a couple of switches - with that you have lots of resources left for experiments and improvements. Sample prints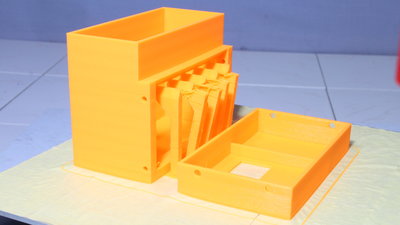
Material: PLA Layer height: 0.2mm Print time: 12 hours Cover power supply As you can see, most of the supports are broken at the base, consequently they were not printed upright, nonetheless they still worked as intended so that the bridged edge is straight. 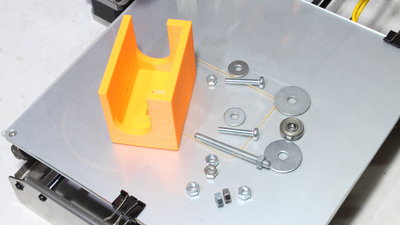
Material: PLA Layer height: 0.2mm Print time: 8 hours Belt tensioner X axis 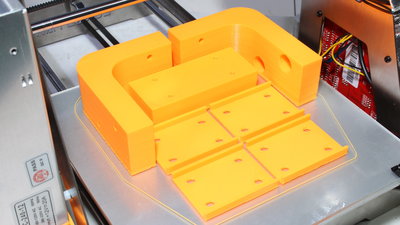
Material: PLA Layer height: 0.2mm Print time: 30 hours Enforcement frame Z axis <<< Imprint ...to be continued. >>> News The Project Technology RoboSpatium Contribute Subject index Archives Download Responses Games Links Gadgets Contact Imprint |
|
|