|
|
|
|
News The Project Technology RoboSpatium Contribute Subject index Download Responses Games Gadgets Contact <<< Direct granules extruder V4.1 Extruder V5.0: Prusa MK4 >>> Direct granules extruder version 4.1: Auger screwsThe video about auger screws in Extruder V4.1.Auger screws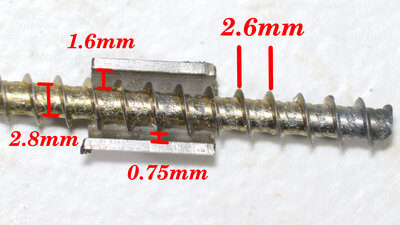
For the extruder tube I used so far with an inner diameter of 6mm, a wood screw with a diameter of 4.5mm proved to be a good choice. Further experiments will show whether this is the optimum. The pitch of the screw is 2.6mm and this is an important parameter for a working extruder: The pitch rules how much material is pressed downwards per revolution. The smaller the pitch, the less material is moved per revolution, but the force exerted in the direction of the nozzle is greater for the same torque. The pitch, together with the gears, rules the overall ratio of the system and so the number of steps the extruder motor has to make to extrude a given volume of plastic. The pitch of the helix should be as small as possible, but must be large enough so that the largest grains of the raw material fit in between. The diameter of the screw core is about 2.8mm. This means that with an ideally centered screw, 0.75mm remain between the edges of the thread and the inner wall of the extruder tube. There is a gap of 1.6mm between core and wall. Purely theoretically, only plastic grains with a diameter of up to 1.6mm should fit into the extruder. Anyone who noticed my first chapter on getting granules from failed prints will know that the mesh size of my sieve made of a peanut can was 2mm and I use this raw material successfully. The reasons why all grains of this raw material can be extruded is that most of the grains have a diameter significantly smaller than 2mm... 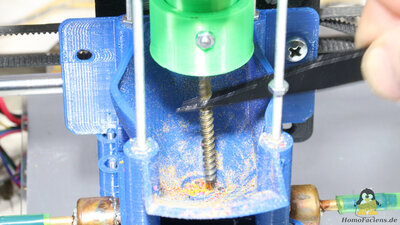
...and that the extruder is not manufactured with zero tolerances: The screw is not "nailed" exactly in the center of the tube and the coupling from the stepper motor allows the M8 screw head to move freely within limits. 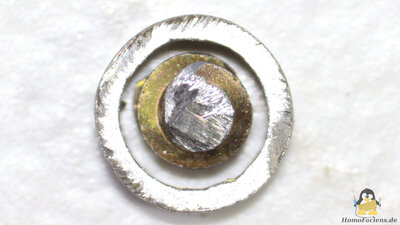
The remaining gap between the screw and the extruder wall is not due to a lack of manufacturing technology, but rather fulfills an important function: The air can escape through this gap while the plastic grains fuse into a compact mass on their way to the nozzle. 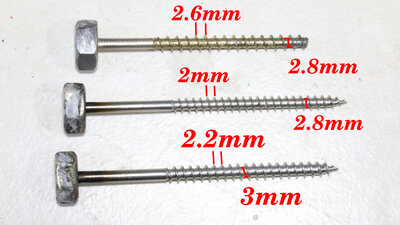
The three screws shown here were tested successfully: 4.5x80mm made of yellow galvanized steel, 2.6mm pitch, 2.8mm core diameter (top) 4.5x80mm made of stainless steel, 2mm pitch, 2.8mm core diameter (middle) 5x80 made of stainless steel, 2.2mm pitch, 3mm core diameter (bottom) Too weak mechanics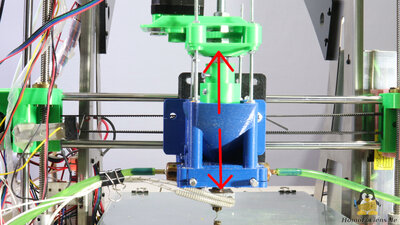
Two forces act on the auger screw: On the one hand, the torque exerted by the stepper motor via the gears and on the other hand, there is a force along the screw axis via the threads, which pushes the granules downwards and in turn pushes the screw upwards. This second force is absorbed by a ball bearing on the plate at the top of the extruder. Even if the bending of that plate during extrusion is hardly noticeable, during the retraction and thus when the mechanics are bent back, the screw dives into the extruder, resulting in more prominent knobs with the 5mm screw. Bending the mechanics is undesirable when operating as a printer, but in the experimental phase it is a clear indicator of whether one screw or extruder geometry is better or worse than another. 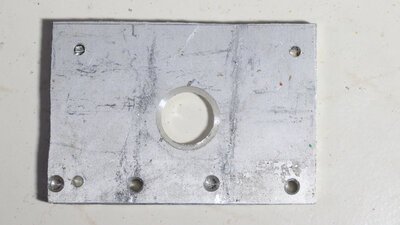
For the video, I quickly stiffened the mechanics at the crucial point with a piece of 6mm aluminum plate. This significantly reduces bending, which also significantly improves retraction behavior. Mix the granules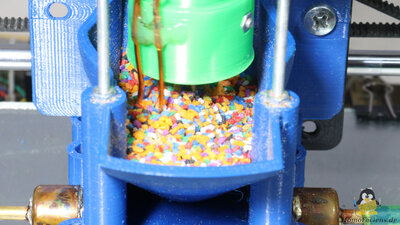
The large hopper also proves to be problematic: In this, the granules are shaken during printing and thus get separated, as the larger grains "float", to the top. What is more problematic, however, is that the grains become compacted during this process and no longer trickle down as easily. This means that the material flow varies as the printing time increases when the hopper is well filled. As a solution, the granules must always be mixed well, which can be done with a simple wire on the screw coupling or on the screw itself. Sample printsFor all sample prints there is:Track link: Layer height: 0.2mm Nozzle: 0.4mm Print time: 17min Size: 27x25x12mm Material: Recycled PLA 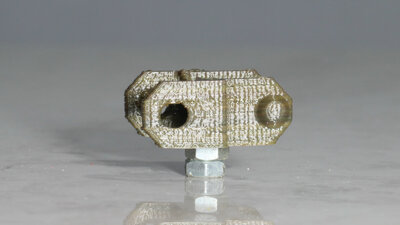
Print with 4.5mm screw made of galvanized steel. 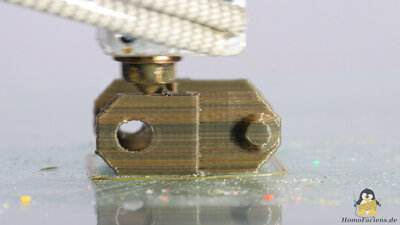
Print with 4.5mm screw made of stainless steel. 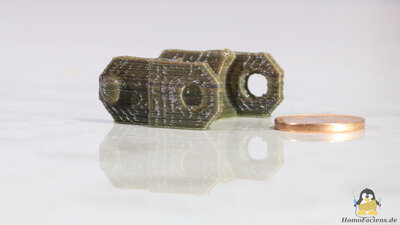
Print with 5mm screw made of stainless steel.. The 6mm aluminum plate mounted on the quick, which is actually far too heavy, makes the extruder even more top-heavy, which means that the effects such as ringing caused by the weak printer mechanics become more noticeable. 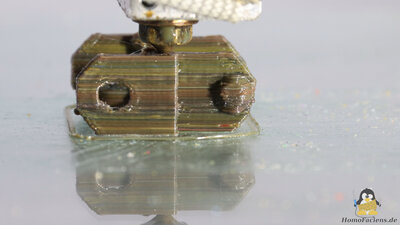
Print with 4mm screw made of galvanized steel. The extrusion is obviously less consistent because the grains cannot be "grabbed" as well due to the smaller helix. 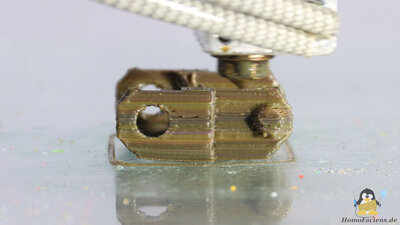
Print with 4.5mm screw made of chrome plated brass. Here too the result is worse. The thermal conductivity of brass and chrome is significantly higher than that of steel, which causes the zone of softened plastic to grow in the extruder tube, resulting in higher friction. <<< Direct granules extruder V4.1 Extruder V5.0: Prusa MK4 >>> News The Project Technology RoboSpatium Contribute Subject index Archives Download Responses Games Links Gadgets Contact Imprint |
|
|