|
|
|
|
News The Project Technology RoboSpatium Contribute Subject index Download Responses Games Gadgets Contact Lander 2 control center on planet earth
Click here to see the list of the latest 40 snapshots.Click here to see the list of the latest 40 snapshots when Lander lease was over.User statistics:Build instruction:The build instruction including the 3D files and a video about the remote controlled camera is available on an extra page.User manual:The registration and basic operation of the cameras is the same as for my mobile robots. If you do not yet know how to control them, please read these operating instructions first!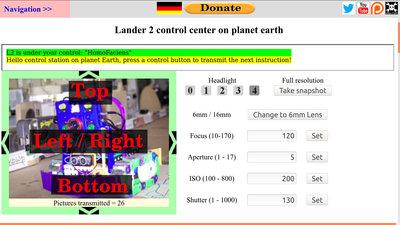
The main difference is the fact that this camera can not drive, but can only be pivoted or rotated. Camera adjustments: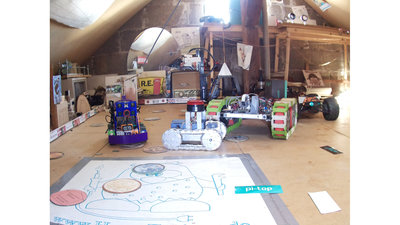
Focal length: The smaller the focal length of a lens, the larger the viewing angle covered by the picture. The first shot was taken with the 6mm lens ... 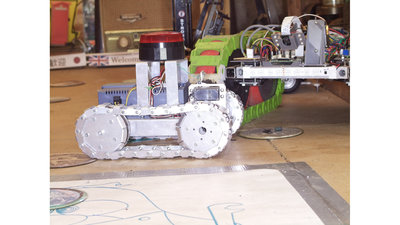
Focal length: ... the second shot with the 16mm lens. Only a small section of the upper photo is covered, the objects to be seen appear much larger. 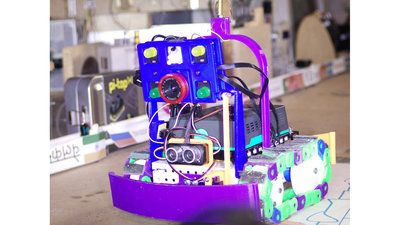
Focus: The focus of the camera can be varied in a range from 10 to 170. The value refers to the angle of the servo that actuates the focus ring. "10" means that objects are in focus at a distance of about 10cm, a setting of about "140" is for objects at a distance of about 4 meters. Since there is always some backlash in the mechanics of a lens, which is significantly increased due to the actuation via servos, it makes a difference from which direction you move to a setting. If the focus is e.g. set to "100", this is slightly closer to the camera if the focus was previously "50" than if the previous value was "120". Only the focus of the 16mm lens can be adjusted, that of the 6mm lens is fixed. In this figure, the focus is set to "140", which shows the rover in focus ... 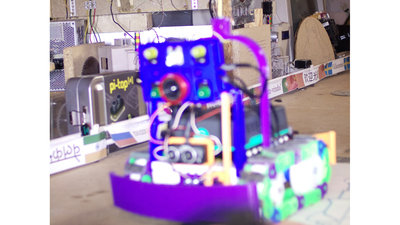
Focus: ... while the focus in this figure is set to "150" by what objects in the background are in focus. Click on the photos to see the effect in full resolution. Changed settings are not transferred to the camera until clicking on the "Set" button. You have to wait for a new photo to be uploaded to see the effect of a change. 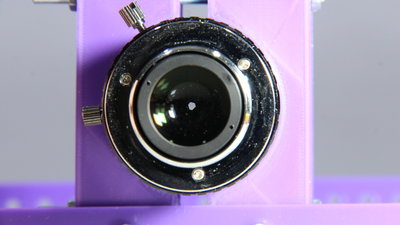
Aperture: The aperture sets what ammount of light hits the sensor. The opening can be reduced by a mechanism, a larger aperture value corresponds to a smaller opening. For the aperture, too, the value to be entered in the range between 1 and 17 corresponds to the angle of rotation of the servo (strictly speaking a tenth of the angle). The value "17" corresponds to the smallest possible opening seen in this photo. The larger the aperture value, the darker the picture. 
Aperture: In addition to the brightness, the aperture also affects the depth of field. The smaller the aperture number, the smaller the image area being in focus. This picture was taken with the smallest possible setting of "1". Only the center area of the image is in focus. 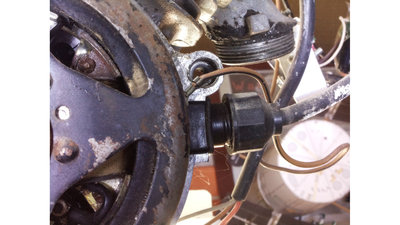
Aperture: The same section was shot here with the largest possible f-number (smallest aperture) of "17". It can be seen that a much larger area of the photo is in focus. The loss of image brightness was compensated with the ISO and exposure time settings. 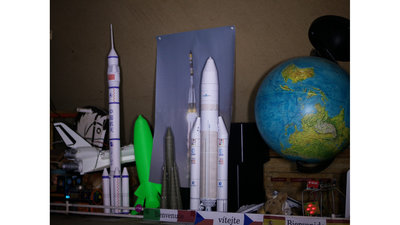
ISO: The ISO value denotes the light sensitivity of the sensor. The higher the value, the brighter the scene appears. Valid settings for ISO are 100, 200, 400 or 800. This photo is taken with an ISO value of 100 ... 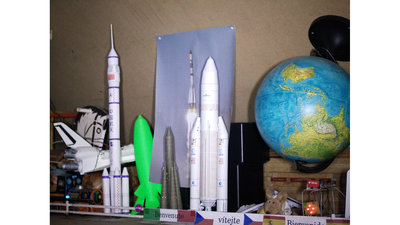
ISO: ... and this photo with ISO 800. The previously dark areas of the picture become more visible. 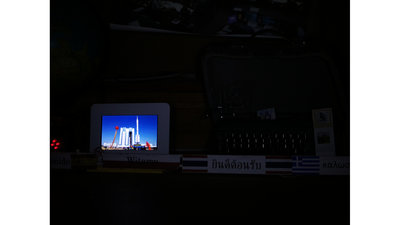
Exposure time (=shutter speed): The exposure time specifies the period of time over which light falls on the camera sensor before the image data is read out. The time span is given in milliseconds (100ms = 0.1s). The longer the exposure time, the brighter the picture. This photo was taken with an exposure time of 50ms, ... 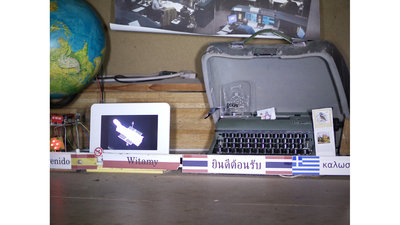
Exposure time: ... while the setting here is 1000ms, i.e. 1 second. In addition to the illuminated screen, the typewriter can now be clearly seen. The Raspberry HQ camera can process exposure times of up to 20 seconds, but the maximum value for this remote-controlled camera is limited to only 1 second so as not to block the camera too long until the next picture is sent. With long exposure times, moving objects become blurred. To demonstrate this, I will probably install a pendulum clock in the RoboSpatium. The Lander doesn't operate as expected?The programs used to communicate between rover and Internet server are permanently observed. If a malfunction is detected, single programs or the whole operating system is restarted. After at least 10 minutes, the whole system should be restored. If not, leave a comment on this page - thanks!
News The Project Technology RoboSpatium Contribute Subject index Archives Download Responses Games Links Gadgets Contact Imprint |
||||||||||||||||||||||||||||||||||||||||||||||||||
|
|