|
|
|
|
News The Project Technology RoboSpatium Contribute Subject index Download Responses Games Gadgets Contact <<< Imprint ...to be continued. >>> Anet E10 3D printerThe Video about the Anet E10 3D printerGet the printer at Gearbest. Coupon Code for a special price: ANET10 The printer ships with only 2x10m of white PLA, you can get additional filament at Gearbest. Assembly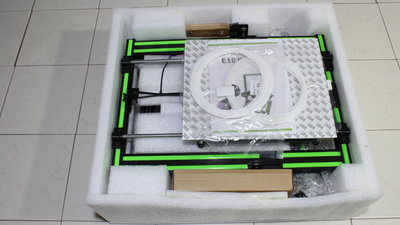
The printer comes almost preassembled. As with many cheap printers there are minor scratches on the surface of some components, however that doesn't affect the functionality. The build instruction with many pictures is available in a printed version as well as pdf and a video on the micro SD card. I needed approximately two hours to assemble the printer, however I took many pictures and video sequences during my build and I had to eliminate minor errors in design. The aluminum frame is very solid. 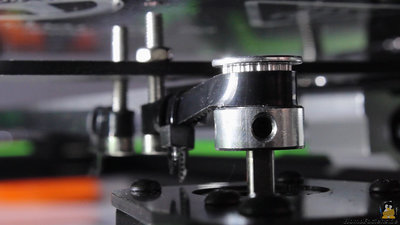
I had to realign the pulley on the Y motor to get the belt in line with the movement of the print bed 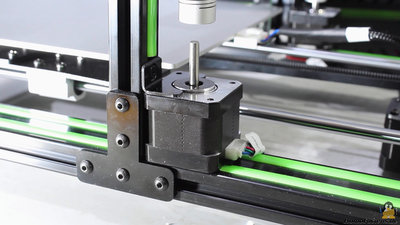
With the plugs of the Z motors pointing to the inside, the build plate hits the plugs while moving along the y axis. So I turned the motors for 90 degrees to make it all work properly, however a couple of screws had to be loosened to do so. Remarks about the device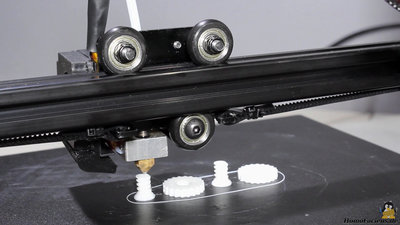
The X axis is guided along one of the aluminum profiles by plastics rolls. Quality and shape of the rolls are anything but perfect - you can feel that the movement is a bit rough while operating the print head manually. However those rolls do their job. 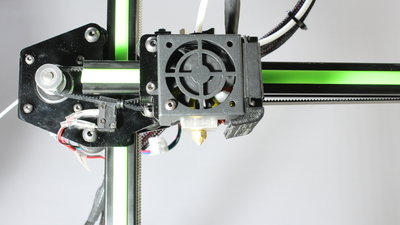
At the end points of the X axis you can see that the lower edge of the belt doesn't run in parallel to the movement of the print head - an issue you can observe at many cheap printers. 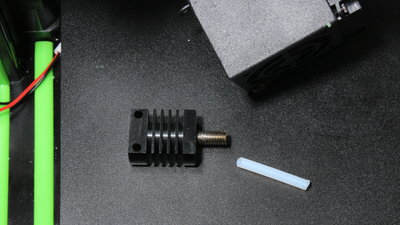
The Teflon tube running from the extruder motor to the hotend as well as the small piece of Teflon tube inside the hotend have an inner diameter larger than 2mm. Because of that, the filament is jamming when trying to remove it from the printer! Get a Teflon tube with proper inner diameter of 2mm to fix that issue. I did not have a replacement and so decided to enlarge the drill hole at the hotend to 2.5mm which is definitely not the best solution! 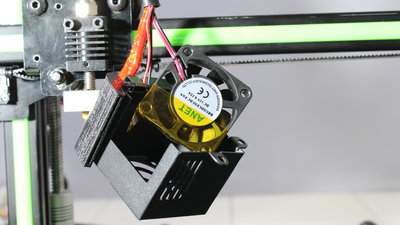
Another issue with the printer came to my mind when starting own projects: Even while the nozzle temperature was set to 210 degrees Celcius, during operation, the real temperature was no more than 195 degrees. The fan of the print head that normally cools the upper part of the extruder is also blowing on the lower part that is called "hot end" for good reasons... A piece of Kapton tape at the lower part of that fan keeps the air flow away from the nozzle and with that the print head reaches 210°C with ease. 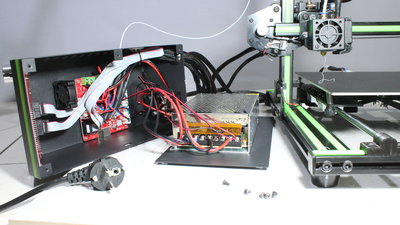
The power supply broke during the first test print. I got a replacement after telling the manufacturer that issue, however that procedure wasn't straight forward: A video showing the error in detail is normally requested, which was no problem for me since I already had recorded that sequence. They said my gcode file would cause the error and so they send me their own. That was of course nonsense, however I wrote back that this would not work either and showed in another video that the power failed also when doing nothing but heating the print bed or the nozzle. Furthermore I demonstrated that it all works fine with the PC power supply. After that they put the replacement on it's way to Germany. That's no good service compared to middle European standards, but there is a reason for that: Companies selling for cheap save money by cutting down support costs. ...and don't forget about the "experts" that complain about defects that simply don't exist just to get another mainboard or power supply for free. That worked without problems for a long time when ordering in China, however meanwhile the companies in the far east have learned their lesson and so you don't get replacements that easy any longer. Requesting a video makes sure that the error really exists at your device. Simple solution generating no costs is the second barrier. Call for service over thousands of miles is always tricky - prosecute a claim impossible! Always keep that in mind when buying devices far away for half the price of the same good in your country. Finally, all in all the replacement was sent to me and this was the first failure I noticed at one of my test devices. 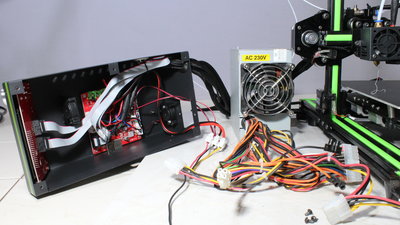
As demonstrated in the video, I am now using an old PC power supply. The 10A it can deliver on the 12V line are sufficient to operate the printer. Connect the three black wires from the original power supply of the printer to one of the black cables of the PC power supply. The three red cables of the printer must be joined with one of the yellow lines of the PC power supply. To activate the PC power supply you must join the green cable with a black one. The mantra of my projects is to fix issues in a simple way and thats what I did by using the old computer power supply. However for the Anet E10 I had to open my bag of tricks a couple of times... Sample prints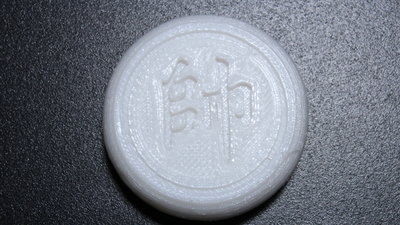
File "chess" Print time approximately one hour. 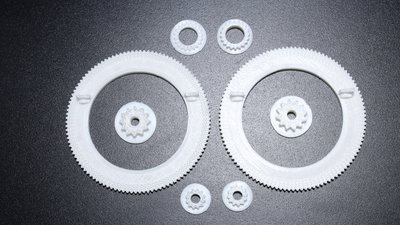
Print test "Gears" Layer height: 0.2mm Gears at the left side printed with 60mm per second. Caused by skipping of the extruder motor there are gaps at the surfaces on top. The right half of the picture shows gears printed with 30mm per second. As shown in the video, the inner diameter of the Teflon tube is too large. Maybe with a better Teflon tube having the correct inner diameter the friction is lower and the printer works with higher speeds. 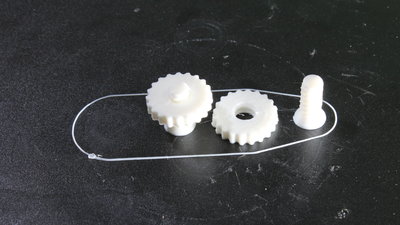
Print test "threads" Layer height 0.2mm Thread and nut fit perfectly. <<< Imprint ...to be continued. >>> News The Project Technology RoboSpatium Contribute Subject index Archives Download Responses Games Links Gadgets Contact Imprint |
|
|